I haven't posted in just under a week which I didn't want to do, but things have been rather hectic as we spiral towards the crit date. I find myself the time to blog again now whilst my scenes are rendering, which is taking double the time due to have to render each frame twice due to the 3D effect (images for the left and right eye), so I'm using it to update on everything that's happened over the past week.
Camera Movements:
I've been hard at work creating a camera that is real to my world. You are the viewer traveling through this world so it has an essence of the viewer trying to catch up with the movement of the camera. Here is a collection of some pre-vis' that I've squeezed out between rendering.
(Timing is close to final, needs slight tweaking in post for a minority of shots...)
Final Render:
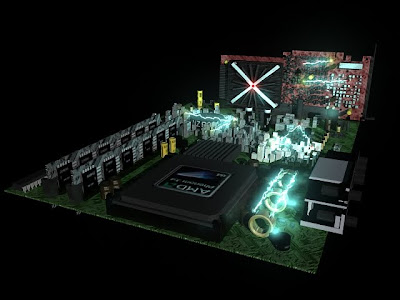
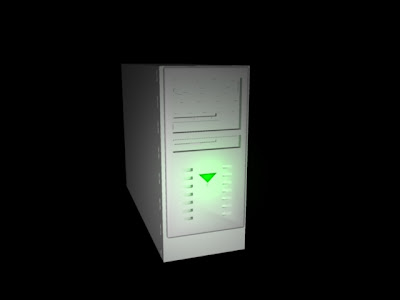
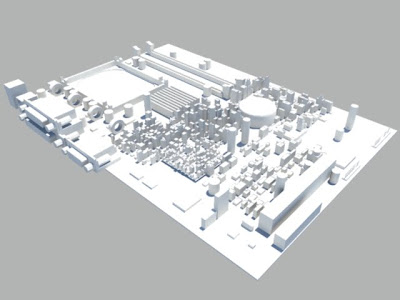
And finalling, some shots from the final render. These haven't been processed through after effects yet to add the final sheen it needs, but these are the final looks. (All shots from the 'Left' Stereo Cam)
My rendering should soon be coming to an end, meaning I can launch into the post and get everything cleared away for next week!
(PS @ Phil/Alan: Is there a box of 3D glasses in the base room office? Should I just come down on Thursday morning to collect them for my crit presentation?)
30 Mar 2011
24 Mar 2011
22 Mar 2011
Transcription - 'Journey' Scene 2 - VO Pre-vis
The previs of the second scene inside the 'PSU' playblasted out. Effects to covering the dissapearing capsule to be done in After Effects.
(Speed needs to altered in places that I missed, like the movement onto the capsule)
(Speed needs to altered in places that I missed, like the movement onto the capsule)
Transcription - Mental Ray tutorials 2
Motion Blur and Depth of Field:
Motion Blur:
No Deformation:
Raster:
Depth of Field:
Camera Depth
Bokah Lens
Motion Blur:
No Deformation:
Raster:
Depth of Field:
Camera Depth
Bokah Lens
20 Mar 2011
Transcription - Scene 1 (VO & Camera)
This is the first scene animated and voiced. I need to add a backing track and sounds but this is for the camera movements. This bit isn't in 3D because it goes 3D when we enter the PC. Also missing is the transitions obviously...
16 Mar 2011
Transcription - Texturing Part 2
Carrying on my texture quest, I added textures to the MB and GFX whilst changing up the PSU room. The blue strobing light was causing an issue so I removed that...
15 Mar 2011
Transcription - Texturing the Models + Enviroments 1
So I've been spending my time collecting a plethera of textures, tweaking them or changing them making shaders for the project. I've been working my way through the scenes, add the textures and refining the lights as needed and still tweaking the particle effects.
Case:
The case has a rather simple texture. I've used my own PC as a guide for the texture so I've combined a selection of plastics for the case and front part.
The PSU Room:
The PSU room is the most drastically different part of the whole project as it embodies a more 'sci-fi' approach. For this I decided to make it more clinical and shiny, akin to Star Trek (2009). All thought the exterior part, the fan, is to be metal to follow the standard on a computer. The capsule using a gold metal to seperate it from the surrounding area, as well as brown leather seats inside to keep a sembalence of realism. The PSU has moving shadows in the form of a blue light moving in the background and the fan on constant rotation. I'm hoping to get this video up very soon..
14 Mar 2011
13 Mar 2011
Transcription - Maya - Mental Ray Tutorials
These tutorials where VERY informative, as I usually use Mental Ray for my work anyway, so knowing the exact settings needed to make it look the best AND faster render, makes it all the better!
11 Mar 2011
9 Mar 2011
Transcription - Putting in some Particles
Using particles, I have added dust coming from the fans and electricity to carry the capsule and as an effect on the MB and GFX. I also added an effect on the case shot because I thought it was lacking something but I may remove it or change it.
7 Mar 2011
Transcription - Start of Lighting
I've started applying the lights to the models to get the look of the models and how I want the lights to look. As you can see, it does have a blue hue to showcase electricity:
I think these lights will be more impressive when I get them and the objects moving, as thats the way I've layed them out...
I think these lights will be more impressive when I get them and the objects moving, as thats the way I've layed them out...
6 Mar 2011
Transcription - Normal Map Tutorials
I was really suprised by how simple this method is to do and how different the end result is from the starting image.
Normal Map 1:
Normal Map 2:
Normal Map Corridor:
Normal Map 1:
Normal Map 2:
Normal Map Corridor:
3 Mar 2011
Transcription - Model Refinements
I've been spending a lot time refining the models and getting them ready for the next stages of production. I've brought the models together and looked at it that way.
2 Mar 2011
Transcription - Model Blocking 2
Continueing to block out the models thats are needed, along with the 'cities' that will be on the Motherboard and Graphics Card:
Ram Stick:
GFX Card:
Capsule:
Motherboard:
Ram Stick:
GFX Card:
Capsule:
Motherboard:
1 Mar 2011
Transcription - Dynamics 4
Heres a video of the new tutorials...
I did have a few errors with one ( and with maya in general, making me do a reinstall), so I'm going to go back over it and fix it up.
I did have a few errors with one ( and with maya in general, making me do a reinstall), so I'm going to go back over it and fix it up.
Transcription - Model blocking
With Production now under way for the project, I've thrown myself into the deep end with the task of blocking out all the models for animation. So I've been spending some time getting these into there basic shapes ready for a plethora of refinements!
(Rendered out in Mental Ray)
Case:
Mainly blocked out the front, with areas for added detail all ready for them.
PSU 'Room':
The 'room' inside the PSU where the audience gets on the 'capsule'. The back 'windows' will have a pulsing blue light coming from them to symbolise electricity passing into the machine. It also has a groove in the floor for the capsule to sit...
PSU Parts:
Fan:
Wire:
The fan is an important background item as it will let in the light for the rom as well as being something of awe for the audience when they first enter.The wire is used to move the audience around the machine.
Motherboard Parts:
Some prelimanary parts for the Motherboard City so there not highly detailed, as there will be alot of them in a tight space, so I'm taking some tips from our Game Model Tutorials to keep detail in these parts at a minimal.
Subscribe to:
Comments (Atom)


